Skating feels like flying the first time your blades grip the ice. In Ontario, you don’t need to guess where to start: almost every city has learn-to-skate programs, from low-cost city classes to Skate Canada clubs that feed into hockey and figure skating.
This guide is for Ontario teens and students who want clear steps, real prices, and Ontario-based options—not just generic “go skate somewhere” advice.
What “learn to skate” actually looks like in Ontario
Most formal beginner programs in Ontario fall into two big buckets:
1. City recreation programs
Municipal recreation departments run group “Learn to Skate” classes at arenas. For example:
- Toronto offers child, youth, and adult “Instructional – Learn to Skate” programs in 9-hour blocks; a 2024 user-fee schedule lists a child learn-to-skate program at about $41 per 9-hour session block (fees adjust yearly).
- London runs “Learn to Ice Skate” for ages 3+ at several arenas, with CSA-approved helmets required for all participants.
These programs usually run once a week for 8–10 weeks, with 25–60-minute classes.
2. Skate Canada / club programs (CanSkate)
Clubs across Ontario deliver CanSkate, Skate Canada’s national learn-to-skate program. It focuses on balance, control, and agility in six stages, and is led by NCCP-certified coaches.
Examples:
- West Toronto Skating Club (McCormick Arena) runs a 14-week Learn to Skate program (Ages 5–12) for about $357 for January–April 2025.
- Acton Skating Club lists a 12-week Learn to Skate fall session around $336, plus a one-time Skate Canada/admin fee of about $90 for the season.
- Clubs like London Skating Club, Flamboro, Dundas, Ancaster, KWSC and many others offer CanSkate for kids, teens, adults, and adaptive skaters.
CanSkate is usually 50 minutes on-ice, with a coach:skater ratio around 1:10, progress badges, and music-based circuits.
Sample Ontario rinks and programs (with real prices)
These aren’t ads—just a snapshot of what real Ontario options look like as of 2024–25. Always check current listings; fees change every season.
| Region / city | Example program | Format & ages | Sample cost (approx.) |
|---|---|---|---|
| Toronto | City of Toronto “Instructional – Learn to Skate” | Child/youth group, ~9 hours total | ~$41 per 9-hr block (2024 fee schedule) |
| West Toronto (GTA) | West Toronto Skating Club Learn to Skate | CanSkate-style, Ages 5–12, 14 sessions | $357 Jan–Apr 2025 |
| London | University Skating & Hockey School – Learn to Skate | Ages 3–12, 40-min weekly at Western Fair | ~$275 per session block |
| Acton (Halton) | Acton Skating Club Learn to Skate | 12-week fall session, group lessons | $336 + $90 Skate Canada/admin fee |
| SW Middlesex | Age 3–6 Learn to Skate (municipal program) | Small-town arena program | About $5 per class (2022 brochure) |
| Hamilton area | Flamboro SC “Start to Skate” / CanSkate | Subsidised first-time program ages 4–5 | Low-cost with Hamilton fee assistance & Jumpstart support |
This mix shows the range: small-town rec programs under $10/class up to club programs in the $250–$350 per season range.
What it really costs to start skating in Ontario
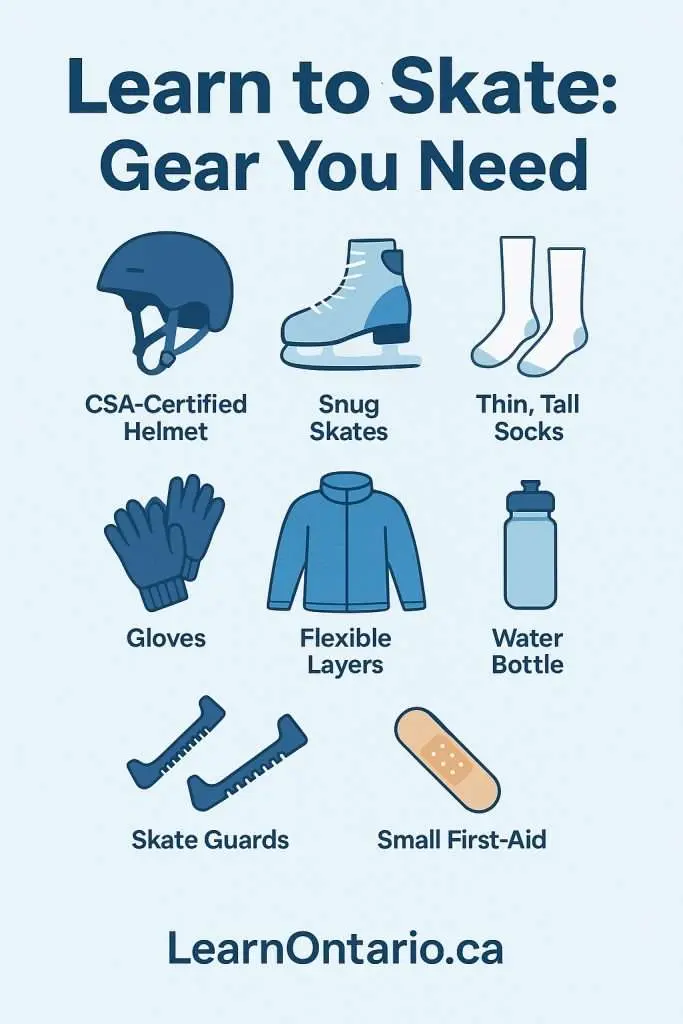
You don’t need brand-new pro gear, but you do need safe basics that fit.
Gear checklist with realistic prices
Approximate starter budget (if you buy used where you can):
- Helmet: CSA-certified hockey helmet – $40–$90 used, $80–$150 new. Many CanSkate and city programs require this for kids, and some strongly recommend a face cage.
- Skates:
- Used beginner hockey or figure skates in good condition – $40–$120 at consignment/used stores.
- New entry-level skates – usually $120–$220.
- Clothing: tall thin socks, gloves, layered clothing you already own – $0–$40 if upgrading a few pieces.
- Guards & small items: skate guards, towel, band-aids – $15–$30.
Program fees
- City rec learn-to-skate: often $40–$120 per 8–10-week session for kids, depending on city and hours.
- Club CanSkate: commonly $250–$375 per 10–14-week session in mid- to large-size cities, plus an annual Skate Canada membership (~$60–$65) and admin fees.
- Public skate drop-ins: around $4–$5 per adult, $3–$4 per child in cities like London, with discounted 10-pass cards and family passes.
Example budget (city program route):
- Used helmet + skates: ~$150
- City learn-to-skate session: ~$80
- Guards & extras: ~$30
Total: around $260 to get safely on the ice for a whole session, then just pay for sharpening and future sessions.
Safety rules you’ll see on Ontario ice
Most Ontario programs have similar rules:
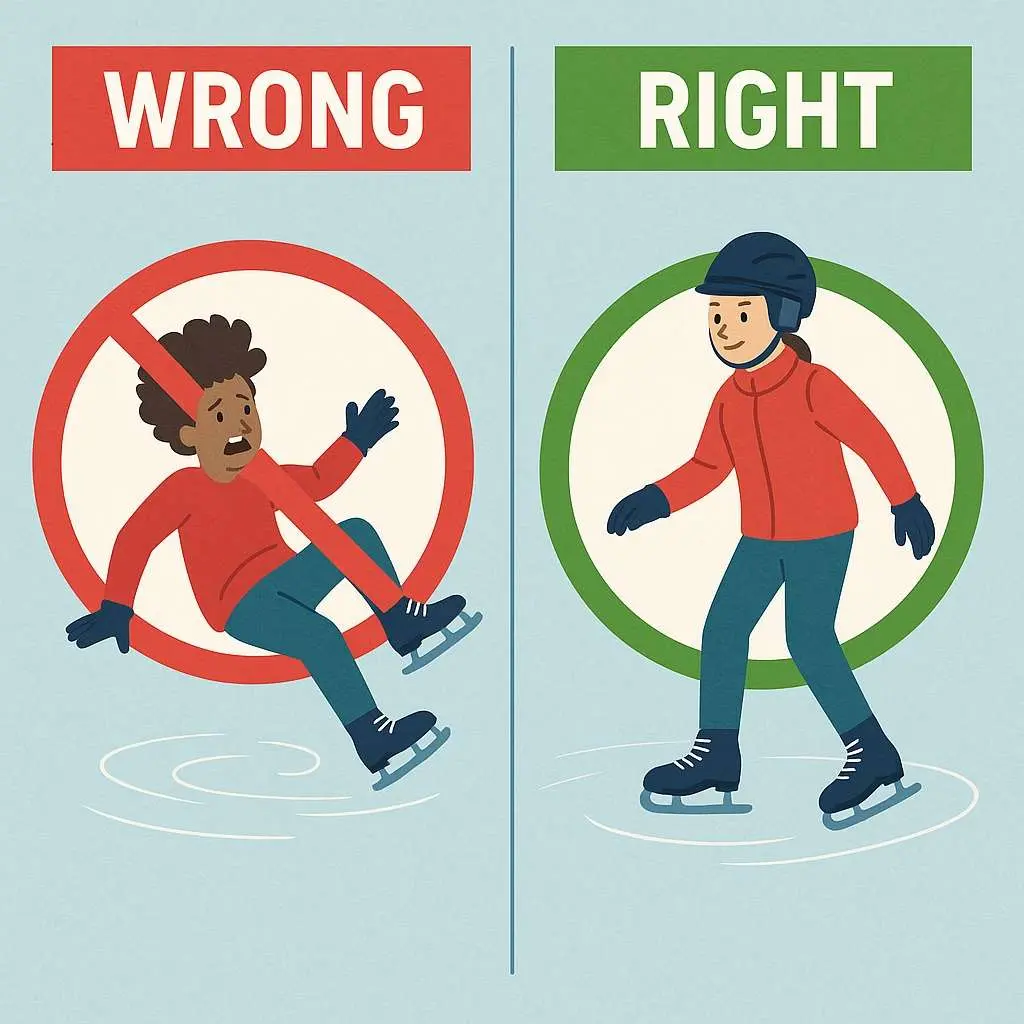
- CSA-approved hockey helmet: mandatory for children in many cities and strongly recommended for teens/adults. London, for example, requires a CSA helmet for learn-to-skate participants and “strongly suggests” a full face shield.
- Gloves or mitts: required or strongly recommended at all ages (cuts and cold protection).
- No street shoes on the ice: parents usually watch from the boards or stands.
- No carrying children: most programs don’t allow carrying kids on the ice for safety.
- Skill-based groups: skaters are grouped by ability, not just age, and can be moved between lanes/groups for safety.
When in doubt, check the “Skating Lessons” or “Learn to Skate” page for your city for the exact helmet and clothing rules.
Ontario outdoor rinks you can try for practice
Once you’re comfortable in a class, outdoor ice is a cheap way to rack up practice time:
- Toronto: Nathan Phillips Square and neighbourhood outdoor rinks run by the city (many are free during the season).
- Ottawa: Rink of Dreams at City Hall, Lansdowne skating court, plus dozens of boarded and puddle rinks listed on the city’s skating page.
- Smaller communities: places like Middlesex Centre offer free or low-cost public skates, especially when local sponsors pick up the tab.
Always check “helmets required?” and “stick and puck vs. public skate” before you go—stick times are usually not beginner-friendly.
Skills to focus on in your first 8 weeks
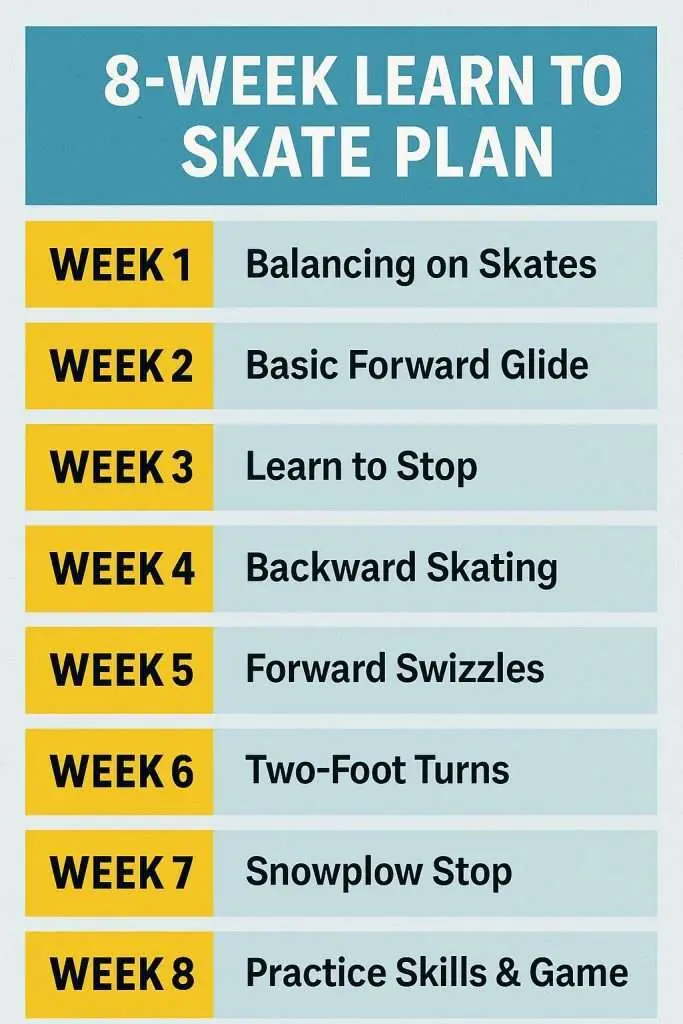
The basic skills are similar across Ontario programs (especially CanSkate, which is standardized and used across Skate Ontario clubs).
Week 1–2: Comfort and balance
- Proper helmet fit and lace-tying routine.
- Safe falls: land on your side/hip, hands off the ice as much as possible.
- Stance: knees bent, hips over skates, chest up, arms slightly out.
- Marching in place, then slow marches forward and short two-foot glides.
Week 3–4: Controlled movement
- Longer two-foot glides and first one-foot glides.
- Snowplough stop: toes in, heels out, knees bent—scrape the ice “like squeezing snow.”
- Forward swizzles (feet out-in) and wide two-foot turns.
Week 5–6: Power and direction changes
- C-cuts for stronger pushes.
- Intro crossovers (step over, push under) on circles.
- Backward swizzles along the boards.
Week 7–8: Linking skills
- Sharper snowplough stops both sides.
- Smooth S-curves (turns linked together).
- Controlled backward glides for several metres.
You don’t have to match this timetable perfectly—twice a week on the ice (one lesson + one practice) is the big difference between “still wobbly” and “comfortable by March.”
A simple Ontario-style practice circuit (10 minutes)
Print this and bring it to any Ontario rink during public or family skate:
- 2 minutes marching laps (warm-up).
- 2 minutes one-foot glides (left/right down a line).
- 2 minutes swizzles forward, then backward if safe.
- 2 minutes wide two-foot turns along a blue line.
- 2 minutes snowplough stops at each faceoff circle (both directions).
This mirrors what many learn-to-skate and CanSkate groups do as a warm-up circuit.
Keeping it affordable in Ontario
If your budget is tight, Ontario has a few supports worth checking:
- City fee assistance: London, for example, notes that financial assistance may be available if you can’t meet recreation program costs—many cities have similar programs.
- Canadian Tire Jumpstart: used by programs like the Flamboro Skating Club to help cover fees and sometimes equipment for eligible families.
- “I Love to Skate” (Ottawa): a learn-to-skate program for kids facing financial barriers, run by Ottawa with Jumpstart and Senators Community Foundation; each child receives a voucher for skates and a helmet to keep.
- Public skate passes: Cities like London offer discounted 10-skate passes and family passes, often cheaper per use than pay-as-you-go.
If you’re in high school or college, ask your guidance/campus recreation office—they often know about local subsidies and free skates.
Simple on-ice checklist
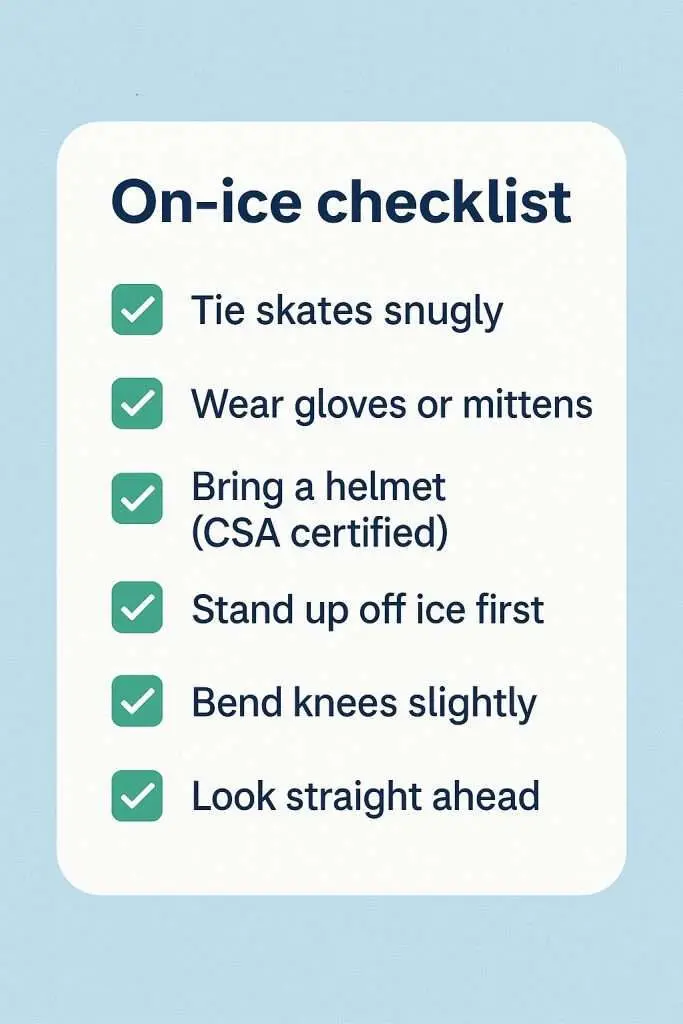
Before you step onto any Ontario rink, run through this:
- Helmet strapped (CSA logo visible), laces snug from toe to top.
- 5 slow laps: march → glide → light swizzles.
- Practise a few stops every session (not just at the very end).
- Cool-down: two calm laps to lower your heart rate and check for rough spots on the ice.
Common problems and quick fixes
Do I need hockey or figure skates to begin?
No. Any well-fitted skate works to start. Hockey skates turn and stop sharply; figure skates glide and edge smoothly. Many Ontario clubs will let you try both and switch later.
How long does it take to learn the basics?
If you skate twice a week, most beginners can glide, turn, and snowplough stop within 6–8 weeks. Progress is more about practice than age.
Is a helmet required at public skates?
For children, many Ontario arenas explicitly require a CSA-approved hockey helmet for lessons and strongly recommend one for all ages at public skates. Check your rink’s posted rules or skating page.
Can teens or adults join beginner classes, or is it just little kids?
Yes. Many clubs and cities offer Teen & Adult Learn to Skate sessions—look for those exact words on registration pages (for example, Flamboro, Dundas, Aurora, and KWSC all run teen/adult options).
Where should I start if I’m in a small town?
Check your town’s recreation page and search “skating” or “learn to skate.” Small communities like Middlesex Centre and Southwest Middlesex run low-cost programs and often have sponsored free skates.
